Categories
Upick Farm Review

Red Lodge U-pick Near Bowden

Yesterday I experienced the joy of my first u-pick of the season! I had been anxiously waiting for strawberries, and my poor little strawberry patch was simply to small to keep up with my appetite. That’s why my little girl and I ventured out west of Bowden to Red Lodge U-pick.

Red Lodge U-pick Sign

My Experience

The very first thing I noticed was good signage. Between the highway and the farm there must have been at least four signs – the first on the highway 6 km before the range road. There’s nothing like clear instructions to make a u-pick day more enjoyable.

Upon arrival, we parked our car (in the clearly marked parking area) and were warmly greeted by Gary Thorpe, the owner/operator of Red Lodge U-pick. Gary gave us a basket and took us out to where the ripe strawberries were.

Red Lodge U-pick Strawberry Rows

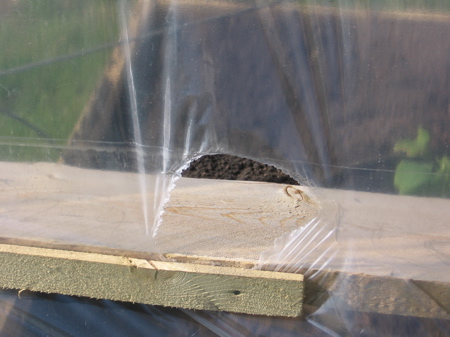
Gary had nets over the ripe rows to keep the birds from pecking holes in all his berries. (And it’s a good thing too – any unprotected strawberries at my house have been pecked up.) You might think it would be a hassle to have a net over the berries, but the nets were easy to pull aside as we picked.

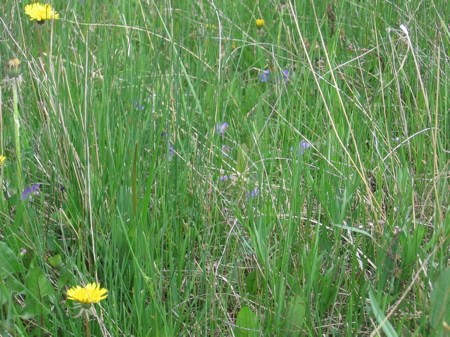
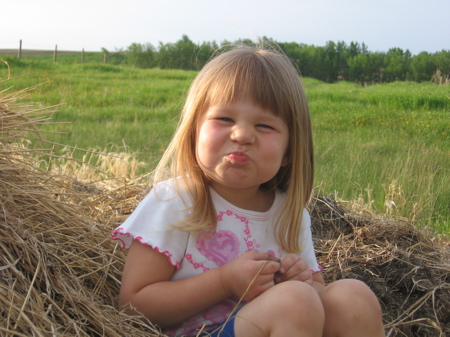
The plants were covered in berries and it was very easy to fill our basket quite quickly. The strawberries were juicy and very tasty – so much better than anything you buy in a grocery store! My daughter had a great time picking the berries (and an even better time eating them on the way home!)

A delicious strawberry

When we had filled out basket, we returned to the farm entrance and my daughter pressed the ‘the red button’ to page Gary. He appeared from another part of the farm and weighed us out. When all was said and done, we had a basket of strawberries weighing just under 4 lbs. So at $2.55 per lb. we paid our $10 and left with a large basket of strawberries and a very enjoyable experience in our memories.

Basket of Strawberries

A Final Word

Over the past couple of years I’ve been to the Red Lodge U-pick several times now. And I keep going back because I really enjoy the experience. It might not be the largest u-pick in the area, or the fanciest – it might not even be the cheapest. But in my experience, it’s certainly one of the friendliest. And for my family, that’s an extremely valuable asset.

Care to visit Red Lodge U-pick?

Here’s what you need to know:

Location:

Go 3 km west of Red Lodge Provincial Park (or 18 km west of Bowden on highway 587) to range road 31, turn south and go 3 km to the end of the road, turn east and go just 1/3 of a km to the farm. (Just follow the signs – its easy!)

Fruit:

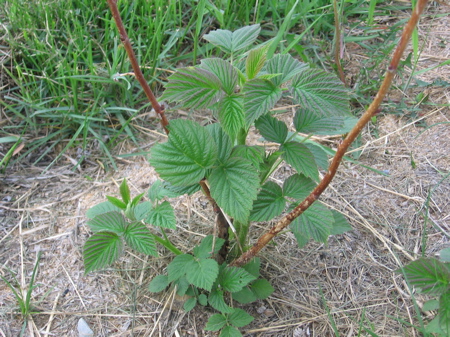
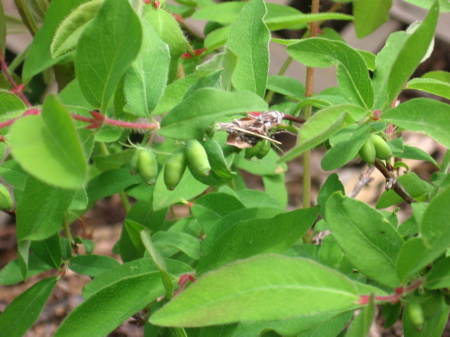
Strawberries, raspberries, and cherries (and Gary is always experimenting with more)

Facilities:

There are bathroom facilities available (though I must admit I didn’t personally check them out).

Contact Info

Updated August 6, 2009

Red Lodge U-pick now has website – www.redlodgeupick.com, and you can get the latest information by calling (403) 224-2425.

Updated July 26, 2018

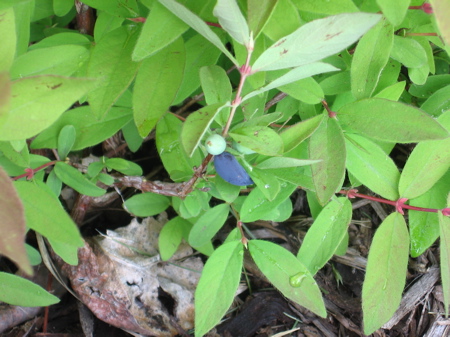
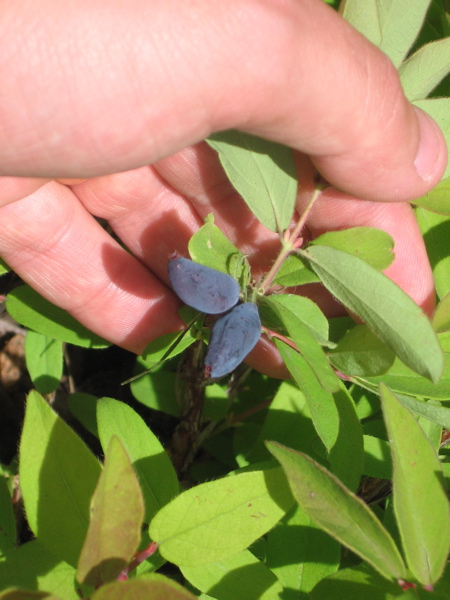
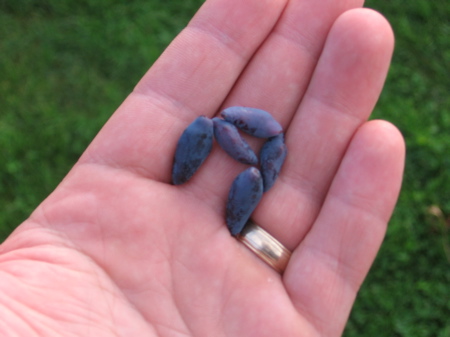
Gary no longer has strawberries, but he specializes in haskaps, cherries, and raspberries!

Categories
Just Photos

Greenhouse Update

Remember the article I wrote back in May about How To Build An Inexpensive Hoop-frame Greenhouse? Well, my mother-in-law (who is greatly enjoying her Mother’s Day present), took some pictures of the things she has growing in there. So I thought I’d share them here to further inspire you to build your own greenhouse next year.

Tomatoes down the length of the greenhouse

Mom's Greenhouse

Roma Tomatoes

Mom's Greenhouse (tomatoes)

Beefsteak Tomatoes

Mom's Greenhouse (tomatoes)

Zucchini

Mom's Greenhouse (zucchini)

Beans

Mom's Greenhouse (beans)

Watermelon

Mom's Greenhouse (watermelon)

Peppers

Mom's Greenhouse (peppers)

Inspired yet?

Oh, and incidentally… I just visited my brother’s A-frame greenhouse, built in the same style as my plasticless A-frame greenhouse, and it’s doing beautifully. He used the woven poly from Northern Greenhouse Sales and it’s showing no signs of wear. I am absolutely going with their plastic next year.

Categories
Commentary

New Exciting Things at Alberta Home Gardening

Over the past while, folks have been asking me for a few new features on this site, so I’ve now added two new pages that you can access from the bottom of the right sidebar. These are…

The Site Index

This will list every post on this website, so that it’s easy to find articles you may have missed earlier. Go here to see it.

The Contact Page

Got a question? Need to speak your mind? Just need some human contact? Then visit the ‘Contact Me’ page.

And one other thing…

One of my goals this summer is to visit a lot of u-pick farms. I’ve already tried once, only to be told they were still closed for the season. (How disappointing!) But as the season progresses, I plan to visit many of the u-pick farms in my area. But that’s not all. My plan it to write a series of u-pick farm reviews so that you can have a comprehensive guide to all (or at least many) of the u-picks around Alberta. Unfortunately, I simply won’t be able to visit as many farms as I would like.

Here’s your chance to be a guest blogger!

I’m putting the challenge out to each one of you to visit a u-pick farm, take lots of pictures, and write a review on your experience. When you’re ready to blog, email me (via the new ‘contact me’ page), and I’ll give you instructions on how to get your article posted. So head out to your nearest u-pick, bring along your carmera, and join me in making Alberta’s most comprehensive u-pick guide.

Categories
Haskap

It’s Haskap Season!

Yes, it’s true.  I’ve been eating haskap berries this past week. Not bucketfuls, but small handfuls anyway. At this point, only my Cinderella variety have ripe berries. The others are still coming. It’s interesting to note that there are far more berries on the Cinderella variety than either the Berry Blue or Blue Bell, but the Berry Blue plants have grown probably two or three times as large this year.

None the less, there are berries out there and some are ripe. Most of them are quite tart, though I may be rushing things in the way of ripeness. My measure of ripeness has been to let them get a dark purple color, then to give a slight tug on the berry and if it pops off easily, then it must be ripe. If it wants to stay attached a little longer – I let it stay.

Haskap berries on June 21

Haskap berries on June 22

Haskap berries on June 22

I never did get any netting put over them, but I don’t think the birds have discovered them yet. We’ll see how long that lasts…

Categories
Growing

My Secret Potato Garden

This spring I had quite a few leftover seed potatoes. I hated to waste them, but I had no other places I could plant them. Then I got an idea. But first, let me give you some background…

Last spring I dug out a good chunk of sod to make way for a hedge. I threw all that sod in a pile out in the pasture. By this spring it had all decomposed into lovely soil. In fact, I had used scooped out some of the dirt for my raised beds earlier.

So now with extra seed potatoes and no place to plant them, I decided to just dump them at the base of my sod heap (where I had scooped out some soil earlier) and kick some dirt over top of them. (There was a pile of old hay nearby, so I threw some hay on a few of them to see if it would make a difference.) If they grew, great – extra potatoes for me! If they died, well, no big loss.

Since then, I’ve done nothing with them (no water – no weeding). I went out to the pasture to check on them this afternoon, and what do you know! Potatoes were growing. And they looked pretty good. They weren’t even covered in weeds! They looked… well, like this…

Potatoes in a dirt pile

Potatoes in a dirt pile

Needless to say, I was impressed. So I will continue to neglect these potatoes and see if, at the end of their life, they will yield me any freebies.

Categories
Growing

Growing Potatoes In Straw

This year I tried something new. I had heard rumors of other people doing it, but I didn’t know of anyone around here trying it.
So this spring, when I planted my potatoes, I didn’t plant them. Instead, I just dropped ’em on the ground in a somewhat straight row. No digging. No shovel involvement whatsoever. Kinda like this…

Planting potatoes in straw

Then, after I had them all layed out, I covered them all with about eight inches of straw, like this…

Planting potatoes in straw

Then I waited. And waited. And now, about a month later, they look like this…

Planting potatoes in straw

So what do I hope to gain by growing potatoes in straw like this? Well, two things actually.

#1. Less weeding

Thus far in the month that the potatoes and the weeds have had to grow, I’ve only had to pull out about five thistles that have popped through. These have been extra easy to remove because the root goes through the straw and is easily pulled out. Plus, no prickles under the straw either.

#2. Bigger Yield

Last year when I regularly watered my potatoes from the time they flowered until the end, I got the biggest potatoes I had ever grown. So the theory goes, if the potatoes are mulched, the soil won’t dry out nearly as fast. Thus even if I don’t water regularly, my yield will be increased because I won’t lose my water to evaporation. But that part’s still just a theory – I’ll have the proof one way or the other this fall. So stay tuned!

Update: June 22, 2008

And lest I forget…

#3. Easier Harvest

Rake back the straw, and there are all your plump, CLEAN potatoes – what could be easier?

Update: July 16, 2008

Check on the progress of these straw-grown potatoes…

Categories
Just Photos

A Photo Stroll Around The Yard

This evening I took a walk around my yard with my little girl and my camera. We planted a few potatoes in an old dirt pile (for lack of garden space and having extra seed potatoes), planted a couple of cucumbers and transplanted a few tomatoes (left over from Grandma’s greenhouse), caught a frog and watched a giant beetle, and through it all – took lots of pictures. So here are a few highlights – at least the ones that were in focus…

The Garden

Row of peas

Our journey started in the garden where the peas are starting to pop up. This is the spot that was lawn last year, so I’m thinking it may be a bit grassy/weedy this year.

Raspberries just starting

Our raspberries that we transplanted last year are coming along.

Sunflowers sprouts

The sunflowers have made their appearance.

Squash peeking through the dirt

The squash is a little nervous about showing it’s face.

Frozen Pumpkin Plant

My pumpkin, hit by frost on May 26th, may actually recover.

The Yard

Mosquitos on my Ethel Pink Mayday

The mosquitoes are out enjoying the blossoms of my Ethel Pink Mayday.

A ladybug on a tiger lily

This ladybug posed for us on the tip of a Tiger Lily.

A Bumblebee on a flower

We quickly snapped this picture of this bumble bee before it buzzed off.

The Pasture

Buffalo Beans

These buffalo beans grow all around this area.

Shooting Star Flower

These shooting stars are scattered around the wetlands.

Wildflowers in the grass

None of my close-up shots worked very well, but these little purple wildflowers sure looked pretty – even the dandelions seemed to fit in.

Well, I hope you enjoyed seeing these pictures almost as much as I did taking them. Oh wait, let me show you one more. It’s my favorite, but I’m biased…

My Little Girl Sittin' on the Hay

Categories
Haskap

Early Haskap Berries

I took a talk around our yard today and was pleased to notice that my haskap plants were covered in little green berries.

Haskap (honeyberries)

It won’t be long before I put up the netting around them to protect them from the birds. Man, am I excited to eat a big bowl of these things in a few weeks!

Categories
Projects

My Greenhouse Plastic Gets Destroyed

Today is certainly a sad day. After much work in building my A-frame greenhouse and covering it with plastic, a gusty afternoon storm has ripped my plastic in pieces. I’m afraid the six mil. plastic simply wasn’t strong enough. As the wind pushed against the plastic, the plastic simply stretched to the breaking point.

Greenhouse plastic ripping

Eventually, one of the holes along the northwest corner tore right off, and the wind ripped the plastic right down the middle of the north side.

Greenhouse plastic ripped in two

So I’m a little disappointed. Even if I could patch it back together, the plastic is just too thin to withstand the winds. So I may be greenhouseless this year.

But perhaps you can help. If this blog has been a benefit to you, would you consider sending a donation to help cover the cost of new greenhouse plastic? The long-lasting woven poly that I would like to put on my greenhouse will cost about $500. If I can raise that much money in the next two weeks, I’ll be able to order it and hopefully get it up before the hail season begins. If more than $500 comes in, all extra money will go towards a local kids camp. Just click the flower below to help keep my greenhouse growing!

Update 2009: I’ve learned my lesson and got the good plastic. Check out my newest greenhouse! It’s made it through some major wind already and is looking good!

Categories
Projects

My Giant $160 A-Frame Greenhouse

As of today, phase one of my giant A-frame greenhouse is complete. It stands about 12 feet high, 24 feet wide, and 48 feet long. I have a single layer of 6mm plastic on the north and south sides with the ends currently open. I plan to enclose them before the frosts this fall (that’s phase two), but I’ll leave them open throughout the summer.

A-Frame Greenhouse

The entire structure is built on top of fence posts. I did this because my lumber wasn’t treated – this way the wood won’t sit on the ground a rot right away. The lumber for the structure is just rough 2×6 boards that I got for a real deal. It’s in pretty rough shape (warped and cracked), but it’ll do for this purpose. It’s cross-braced by some wire my father-in-law had, and the the plastic cost a total of $80. The raised beds are made with 2×10. All said and done – it cost me about $160, plus a good chunk of my time. I’m glad I’m done this far – it was a lot of work. Now I get to do the fun part – planting, growing, and enjoying!

A-Frame Greenhouse

Originally I was going to have a water trench down the middle to for heat storage, but with small children around I opted for a compost trench that should let off quite a bit of heat anyway. Well, see how it goes.

I’m not sure how well the plastic will stand up, but I’m hoping it’ll last the year anyway. If it doesn’t, I’ll have to pay for the more expensive (but much better) 11 mils woven poly.