Categories
Projects

A New Inexpensive Greenhouse within a Greenhouse Solution

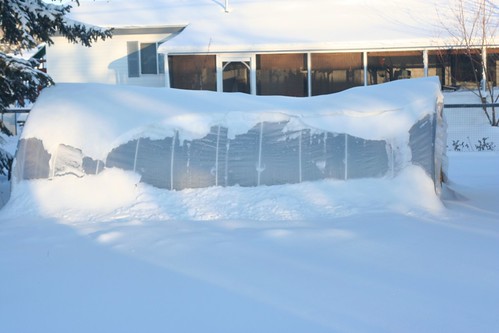
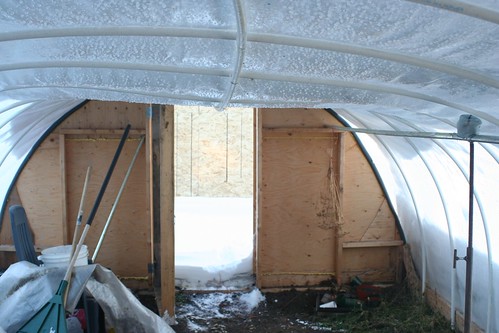
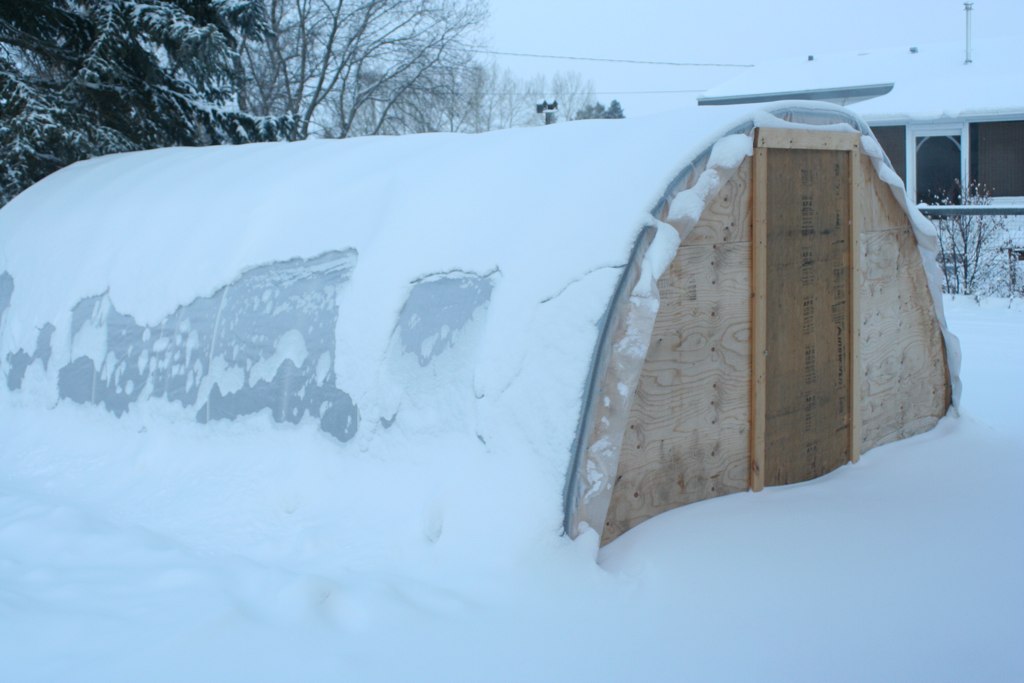
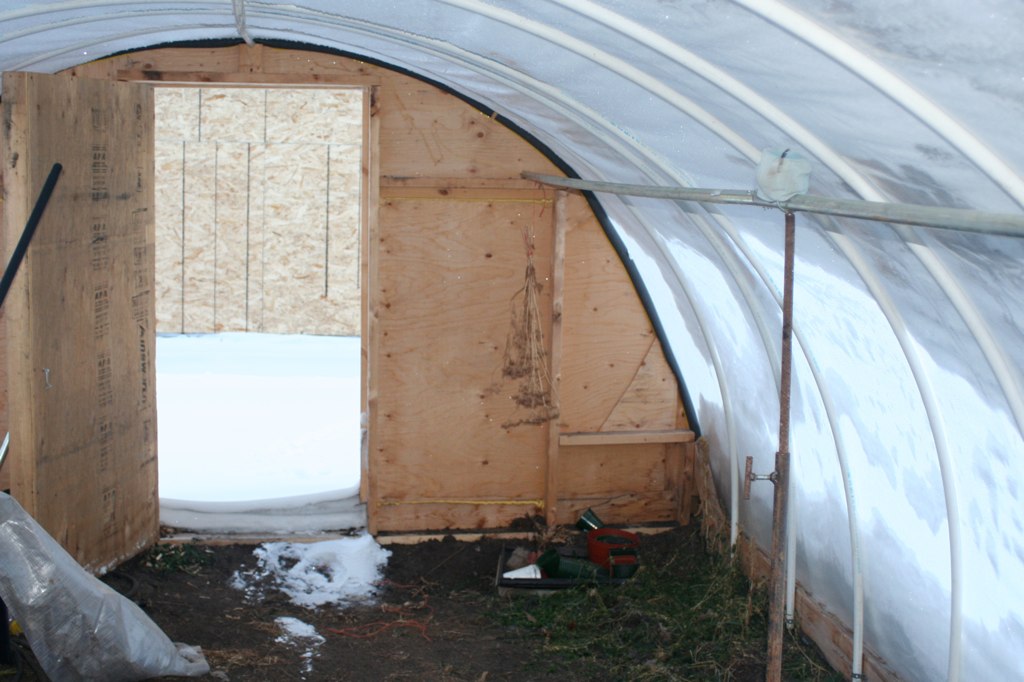
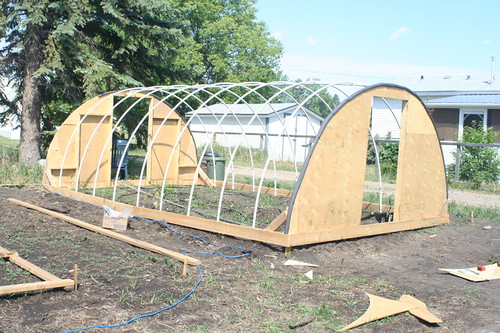
Hoop-frame greenhouses are amazing! If you’ve been following my blog for long, you know I love my greenhouse. But as good as it is, I wanted to make it even better. I wanted to extended my growing season without adding a the cost of a heater. In 2009 I tried using milk jugs full of water to hold the heat and slowly release it through the cool of night. That worked pretty good. But what else might I try?

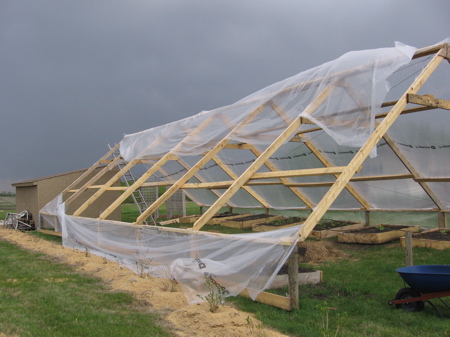
Well, here is what I did this spring: Now this probably isn’t a brand new idea. I’m sure someone has done it before, but its new for me. (And maybe for you too.) I decided to make a mini-greenhouse WITHIN my greenhouse.

It was fantastically easy (it took all of ten minutes to build it) – and completely inexpensive – I simply used materials that were leftover from other projects. Here, let me show you…

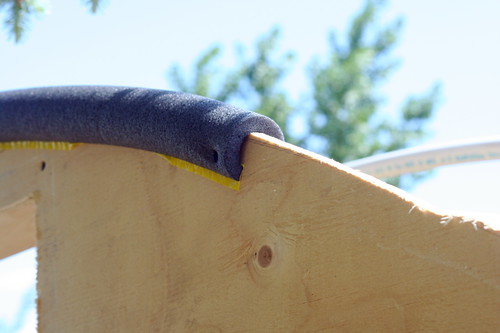
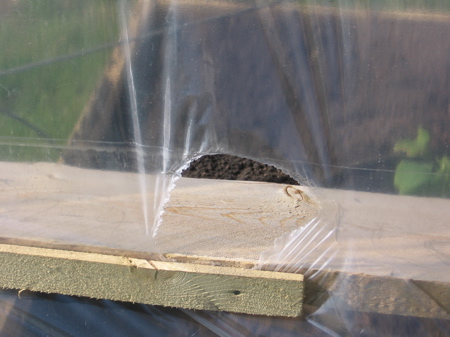
I just took six planks (1x6s – about 30 inches long that were leftover from my fence project last fall), and tucked the bottoms inside my planting bed frame. Then I screwed the tops together and attached a long 1×2 (8 ft long) that served as the peak of my greenhouse. It was absolutely simple. Then I just took and threw over some plastic like this…

Then I ran some tests to see just how much of a difference it would make at night. Remember this is with NO additional heat.

On the night of May 2, the overnight temperature got down to 3.1° celsius outside in my garden. The greenhouse was a little warmer, going down only to 4.8° celsius. But inside my mini-greenhouse within my greenhouse, the temperature stayed up at 7.4° celsius. That’s 4.3° warmer than outside with NO extra heat. That might not seem like a large number, but that makes a significant difference in your growing season. That little, inexpensive “greenhouse within a greenhouse” project, according to the weather almanac, could have just added 9 days to my growing season – for FREE!

And of course, if I had wanted to heat that little greenhouse, it would be much cheaper to heat that little space than to heat the whole greenhouse. So maybe I’m over-reacting, but I think this is way cool and will doing this project again next year – nine days earlier!

Categories
Commentary

Greenhouses: More Than Just Functional

Some of the most popular articles that I’ve written on this website have been about my inexpensive greenhouses. From my Giant 24’x48′ A-Frame to my hail-proof PVC hoop-style greenhouse, I’ve explored all kinds of options for how to keep my garden safe from the harsh Alberta climate. And while most of my ideas are functional solutions – I can’t say they are always beautiful solutions. Rough cut lumber covered by a plastic sheet does keep the tomatoes from freezing, but it may not enhance the overall look of your yard. And in many cases, that’s ok. A hoop-frame greenhouse out behind the barn on the farm fits in nicely, but it might look out of place in your beautifully landscaped city yard.

So if you’re looking for a more attractive way to extend your growing season, you may want to consider a Victorian greenhouse. These beautiful glass structures are not only functional, but they also add character to your garden and value to your home. When I was making the landscaping plan for my backyard, this is type of greenhouse that I designed for.

Search through several Grow Lights and other necessities for your greenhouse all at an affordable price!

Ideally, I’d like a fully heated, cedar-frame glass greenhouse – about 12′ x 30′. (My current hoop-frame is 12′ x 20′.) It would be great to start my own annuals out there (instead of in my basement like I currently do). And it would be nice to have my greenhouse as a key feature of my garden, rather than something to be hidden in the back corner.    Of course, I’ve been doing my landscaping in phases, (doing small projects as the budget allows) and so that type of greenhouse is still a few years away – but that’s the goal.

Until then I’ll be happy to keep on growing in my inexpensive hoop-style greenhouse and be just slightly envious of those of you who enjoy your beautiful glass greenhouses.

Are you one of the lucky people to have a Victorian greenhouse? I’d love to see your pictures! Feel free to attach them to your comments below!


Categories
Projects

My Hoop-Frame Greenhouse In the Snow

Well, not that long ago I showed you that a hoop-frame greenhouse could survive a Canadian winter. I should probably add “so far” to the end of that statement. We had a whole pile of snow (by central Alberta standards) over the past two days and I was away and thus unable to brush off the snow that was piling up on my greenhouse. So I was a little worried when I looked out this morning and saw my greenhouse looking like this.

Buried Greenhouse

The snow had accumulated on the top enough to start bending the pvc pipes and the roof began sinking. This is what it looked like inside.

Saggy Greenhouse

On one hand, I was sad to see it getting squashed by the snow like that. But on the other hand, I was over joyed to see that although it had bent, nothing had broken! Everything was intact – just a little bent out of shape. So here’s another positive for using PVC pipe. It can bend quite a bit, still not break, and then resume it’s shape again when the pressure is off.

So I took out my shovel and scraped the snow back from the sides and brushed the snow off of the roof best I could. Some chunks were frozen to the plastic at the top, and I didn’t want to risk wrecking the plastic, so I left some up there. But the warm weather that will come eventually, hopefully, should melt that away.

While there certainly are some risks to this type of greenhouse structure (after all, I do live in Canada), and we’re not out of the woods yet (still six more months of winter… well, three at least), I still stand behind my PVC pipe greenhouse.

Categories
Projects

Can A PVC Pipe Greenhouse Survive A Canadian Winter?

It’s December 12 in Central Alberta. Last week brought a lovely little blizzard with high winds and a whole pile of snow and this weekend we are looking forward to -35°C. Yup, must be winter. So, I figured it would be a great time to check on my little greenhouse. You know the one – the hoopframe greenhouse I made out of PVC pipes and covered with woven poly. Some people weren’t sure it would stand up the the wind and the snow and the cold temperatures, but I was confident. Mostly. So I ventured out in the -29.9°C weather this morning to see how well things were standing up. Here’s what it looked like:

Greenhouse in December Not bad so far. How about the inside? One of the biggest concerns is that the pvc pipes would snap or would bend under the weight of the snow. One nice thing is that Alberta snow tends to be pretty dry, so it’s not usually as heavy as the snow in other parts of the country. Regardless, it can still be pretty heavy when piled up. Well, here’s the inside.

Greenhouse in December Things are holding up well. Nothing has snapped, there is no major bending going on – all is bright and well. And, for an added bonus (for what it’s worth), it was -18.7°C inside while -29.9°C outside. Still really cold – but certainly a wide spread (and this only at 10am – by 2pm it should be significantly warmer from the sun).

So I must say I am pleased. I think this greenhouse is my best to date and I am excited to get some plants started out there earlier than I ever have before! I’ll keep you updated!

Update at 1:00pm later that day:

Ok, now it’s just -27°C outside, but a scorching -10°C inside! That’s 17 degrees people! Does that not impress you? I does me. I’ll have tomatoes in February!… Well, that might be a little wishful thinking…

Categories
Projects

An Inexpensive, Hail Proof, PVC Pipe Greenhouse

I’ve finally built my greenhouse for my new garden. It’s a twenty by twelve foot hoop-style greenhouse with wooden ends and is covered with 11 mil woven poly. This greenhouse has some pretty cool features that I really appreciate, and I think you will too.

My third hoop style greenhouse

First of all, the poly I used to cover it is fantastic. It is a super tough woven poly that I got from Northern Greenhouse out of Manitoba. How tough is it? Well, my brother (who operates the Saskaberry Ranch near Sundre) just got pounded by hail last Sunday. The hail broke windows, shredded siding, and striped everything off of his saskatoon and raspberry bushes – but his greenhouse covered with this same woven poly was completely undamaged! Amazing! (I’ll try to post a picture if I can get one.)

Secondly, to eliminate wear and tear on the plastic, I covered edges of the wooden ends with copper pipe insulation. This foam protects the poly from the sharp edges of the wood.

Insultation on greenhouse

Thirdly, it was very inexpensive and easy to build. The lumber was under $100, the poly was just over $200, and the pvc pipes were under $100. By the time I got all the misc. stuff, I was still under $500 total. Not bad, eh?

My third hoop style greenhouse

Being so late I only got a single row of tomatoes down one side, but next year I’ll be bursting at the seams once again! If you want to build a greenhouse like this one, check out my previous post that gives step by step instructions for building this same greenhouse. Since I’ve improved the design since then, I would recommend the following changes:

  • Use wooden ends instead of plastic – and cover the ends with pipe insulation.
  • Use 11 mil woven poly instead of the 6 mil.
  • Put the PVC pipes on the inside of the frame rather than on the outside

Other than that, you should be able to follow all the other steps. If you do follow this design, be sure to leave me a comment – I’d love to hear (and see) what you’ve been doing!

Categories
Just Photos

Greenhouse Update

Remember the article I wrote back in May about How To Build An Inexpensive Hoop-frame Greenhouse? Well, my mother-in-law (who is greatly enjoying her Mother’s Day present), took some pictures of the things she has growing in there. So I thought I’d share them here to further inspire you to build your own greenhouse next year.

Tomatoes down the length of the greenhouse

Mom's Greenhouse

Roma Tomatoes

Mom's Greenhouse (tomatoes)

Beefsteak Tomatoes

Mom's Greenhouse (tomatoes)

Zucchini

Mom's Greenhouse (zucchini)

Beans

Mom's Greenhouse (beans)

Watermelon

Mom's Greenhouse (watermelon)

Peppers

Mom's Greenhouse (peppers)

Inspired yet?

Oh, and incidentally… I just visited my brother’s A-frame greenhouse, built in the same style as my plasticless A-frame greenhouse, and it’s doing beautifully. He used the woven poly from Northern Greenhouse Sales and it’s showing no signs of wear. I am absolutely going with their plastic next year.

Categories
Projects

My Greenhouse Plastic Gets Destroyed

Today is certainly a sad day. After much work in building my A-frame greenhouse and covering it with plastic, a gusty afternoon storm has ripped my plastic in pieces. I’m afraid the six mil. plastic simply wasn’t strong enough. As the wind pushed against the plastic, the plastic simply stretched to the breaking point.

Greenhouse plastic ripping

Eventually, one of the holes along the northwest corner tore right off, and the wind ripped the plastic right down the middle of the north side.

Greenhouse plastic ripped in two

So I’m a little disappointed. Even if I could patch it back together, the plastic is just too thin to withstand the winds. So I may be greenhouseless this year.

But perhaps you can help. If this blog has been a benefit to you, would you consider sending a donation to help cover the cost of new greenhouse plastic? The long-lasting woven poly that I would like to put on my greenhouse will cost about $500. If I can raise that much money in the next two weeks, I’ll be able to order it and hopefully get it up before the hail season begins. If more than $500 comes in, all extra money will go towards a local kids camp. Just click the flower below to help keep my greenhouse growing!

Update 2009: I’ve learned my lesson and got the good plastic. Check out my newest greenhouse! It’s made it through some major wind already and is looking good!