Categories
Just Photos

Summer 2010 Recap

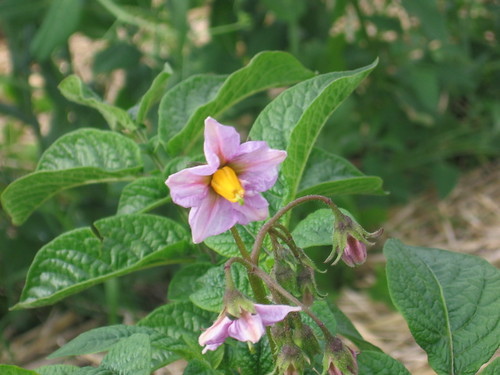
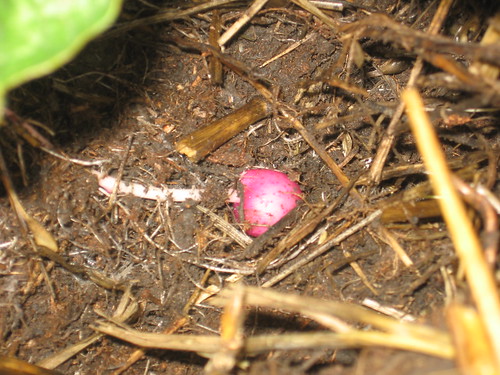
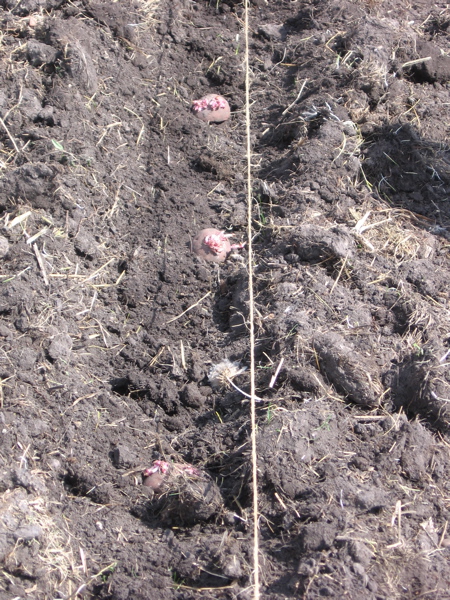
I must say, this has been probably the worst gardening year I’ve ever experienced. The weather has been very unfriendly to gardeners in Alberta. And yet, there is always a silver lining. All is not lost. Gardening in Alberta means making the best of your situation – whatever that may be. So here’s how I made the best of my garden this year.

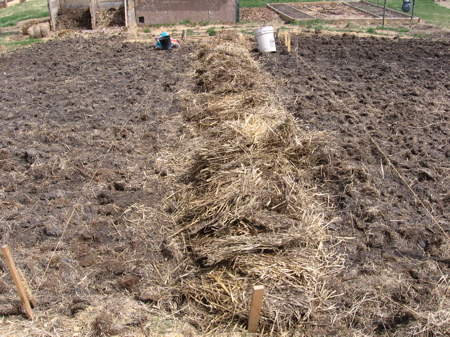
One major project was to bring in a whole pile of mulch. (And I do mean that very literally.)

My father-in-law brought out a whole grain truck full of mulch that we applied liberally to our planting beds, in our greenhouse, and around our trees. It was a lot of shoveling, but I’m convinced that all that mulch will be worth it.

I also added a few plants to my landscape – plum trees, chum trees, cherry trees, kiwis, and grapes. Here’s some of the grapes.

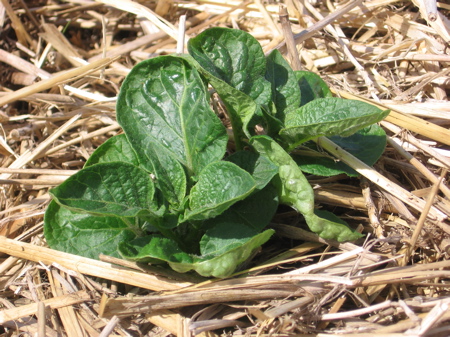
Although many things in my garden didn’t do so well, the tomatoes prospered (even though they were a bit late.)

So that’s a quick update on my garden this summer. I’ve got a couple of other things brewing, but I’ll tell you about those later!

Categories
Growing

Those Are Some Very Baby Potatoes

I just thought I update you on how my ‘potatoes grown in straw‘ experiment is going.

Right now, my Red Norland potatoes that I planted on May 19th are just beginning to bloom. That would be eight weeks from planting. (This, by the way, is a crucial time to keep your potatoes regularly watered to get large, scab-free potatoes – read more about that in this article.)

Potato Flower

One cool thing about this style of growing potatoes is that you can easily check on the progress of the tubers forming underground (or rather, understraw). I was curious to know just how big my little potatoes were at this point, so I carefully pulled away the straw at the base of the plant. And lo, and behold…

Very baby Potato

There it was. A tiny little potato not much bigger than a large pea.

So I learned/confirmed a few things today.

#1. Flowers on plants = formation of little spuds

#2. Potatoes grown in straw are going to be wonderfully clean

#3. I won’t be eating baby potatoes for at least a couple of weeks.

Categories
Growing

Growing Potatoes In Straw

This year I tried something new. I had heard rumors of other people doing it, but I didn’t know of anyone around here trying it.
So this spring, when I planted my potatoes, I didn’t plant them. Instead, I just dropped ’em on the ground in a somewhat straight row. No digging. No shovel involvement whatsoever. Kinda like this…

Planting potatoes in straw

Then, after I had them all layed out, I covered them all with about eight inches of straw, like this…

Planting potatoes in straw

Then I waited. And waited. And now, about a month later, they look like this…

Planting potatoes in straw

So what do I hope to gain by growing potatoes in straw like this? Well, two things actually.

#1. Less weeding

Thus far in the month that the potatoes and the weeds have had to grow, I’ve only had to pull out about five thistles that have popped through. These have been extra easy to remove because the root goes through the straw and is easily pulled out. Plus, no prickles under the straw either.

#2. Bigger Yield

Last year when I regularly watered my potatoes from the time they flowered until the end, I got the biggest potatoes I had ever grown. So the theory goes, if the potatoes are mulched, the soil won’t dry out nearly as fast. Thus even if I don’t water regularly, my yield will be increased because I won’t lose my water to evaporation. But that part’s still just a theory – I’ll have the proof one way or the other this fall. So stay tuned!

Update: June 22, 2008

And lest I forget…

#3. Easier Harvest

Rake back the straw, and there are all your plump, CLEAN potatoes – what could be easier?

Update: July 16, 2008

Check on the progress of these straw-grown potatoes…

Categories
Compost, Mulch, Etc

How To Make A Garden From Scratch The Easy Way

Making a new garden plot is no easy task – no matter how you do it. But I may just have found the easiest and least work-intensive method of turning that patch of lawn into a beautiful garden plot.

In my early attempts to make new garden plots from scratch, I tried a variety of methods. I tried digging out the sod and then hauling in six inches of topsoil to replace it. Of course, that is a whole lot of work if done by hand, and renting machinery can be quite expensive. Then there’s the problem of what to do with the sods, and where to find quality topsoil.

Another method I’ve tried is to spray the grass with chemical, killing the grass, and then tilling the sod. But that means dealing with chemicals and finding a heavy duty rototiller which wouldn’t be cheap. Then once all that is done, you still have to go through an clear off all the bits and pieces of sod in order to have a workable garden.

So finally, I believe I have found a way to create a new garden space without machinery, without chemicals, and without any digging or tilling. Are you ready for this?