How to Build a Garden Trellis for Grapes and Kiwis
For years I’ve had great plans to build a garden trellis for my many varieties of grapes & kiwis – and finally this summer I took the plunge. I built a simple, but solid trellis for the vines I have growing along the south side of my garage. It’s probably a little bit over-kill, but it’s certainly able to hold the weight of all my grapes and kiwis (which is actually pretty significant – as I have two grape vines and two kiwis and all those vines, leaves, and fruit can get heavy!)
So if you’ve been looking to build a trellis in your own backyard, let me show you my design:
First of all – my materials list.
- (3) 4 x 4 x 12′
- (1) 4 x 4 x 8′ – (since my one section is under my garage window)
- (17) 2 x 4 x 8′
- (1) 2 x 4 x 12′
The first thing to do was to dig my post holes. I dug 6″ holes about 32″ deep – spaced 4′ apart – about 1′ from my garage wall.
The 12′ posts were too tall to fit beneath my garage eaves (even when planted 32″ deep), so I had to trim a few inches off the tops to fit just under my eaves. I had a window (as you can see in the picture below) that I didn’t want to cover up, so I planned to build that section at half height. Once the posts were in, I backfilled with gravel and tamped them in. You could use concrete if you like, but I think gravel holds it just as well (if it’s well tamped) and it allows the water to drain away from the post so it doesn’t rot.
Once the posts were all trimmed to the proper, level height, I simply attached the 12′ 2 x 4 to the top of the taller sections, and a 4′ section of 2 x 4 for the shorter one.
Next, I ripped the remaining 2x4s in half – giving me 2x2s. (The actual dimensions were 1.5″ by 1.5″)
Grapes: They can actually grow in Alberta!
This week I experienced my first real grape harvest. Sure, I’d had managed to grow a few small clusters before – just enough to get a taste. But this year was the first year that I’ve been able to grow enough grapes to eat all I wanted fresh, plus harvest enough to make up some delicious grape jelly for the winter.
I have four different varieties growing in my yard here in central Alberta, but the two varieties that are mature enough to produce are my Valiant Grapes, and my Marechael Foch Grapes. The valiant grapes are larger than the marechael grapes (though still smaller than what you might find in the grocery store) and are packed with flavour! In fact, they are very similar in flavour to the Concord grapes that you buy in the store.
I have them growing on the south side of my garage on a trellis with my Kiwis. (Yes, you heard right… with MY KIWIS.) I’ve found this location to work great for three reasons!
More Spring Flowers in Alberta
Orange and yellow tulips, flowering crab, and pears flowers – Just another fantastic show of color this spring in my backyard. I don’t have too much to say about these pictures other than I think they are amazing! The details blow my mind every time!
A New Inexpensive Greenhouse within a Greenhouse Solution
Hoop-frame greenhouses are amazing! If you’ve been following my blog for long, you know I love my greenhouse. But as good as it is, I wanted to make it even better. I wanted to extended my growing season without adding a the cost of a heater. In 2009 I tried using milk jugs full of water to hold the heat and slowly release it through the cool of night. That worked pretty good. But what else might I try?
Well, here is what I did this spring: Now this probably isn’t a brand new idea. I’m sure someone has done it before, but its new for me. (And maybe for you too.) I decided to make a mini-greenhouse WITHIN my greenhouse.
It was fantastically easy (it took all of ten minutes to build it) – and completely inexpensive – I simply used materials that were leftover from other projects. Here, let me show you…
I just took six planks (1x6s – about 30 inches long that were leftover from my fence project last fall), and tucked the bottoms inside my planting bed frame. Then I screwed the tops together and attached a long 1×2 (8 ft long) that served as the peak of my greenhouse. It was absolutely simple. Then I just took and threw over some plastic like this…
Then I ran some tests to see just how much of a difference it would make at night. Remember this is with NO additional heat.
On the night of May 2, the overnight temperature got down to 3.1° celsius outside in my garden. The greenhouse was a little warmer, going down only to 4.8° celsius. But inside my mini-greenhouse within my greenhouse, the temperature stayed up at 7.4° celsius. That’s 4.3° warmer than outside with NO extra heat. That might not seem like a large number, but that makes a significant difference in your growing season. That little, inexpensive “greenhouse within a greenhouse” project, according to the weather almanac, could have just added 9 days to my growing season – for FREE!
And of course, if I had wanted to heat that little greenhouse, it would be much cheaper to heat that little space than to heat the whole greenhouse. So maybe I’m over-reacting, but I think this is way cool and will doing this project again next year – nine days earlier!
The Budding of Spring
One of my favorite types of photos are the macro photos of spring buds. There is such detail and such a variety in all the new growth that appears on branches or popping through the mulch or emerging from seed. So I took a bit of a stroll around the yard this afternoon to capture a few moments of springtime budding – I thought you might enjoy!
- I love the “wooly-ness” of these!
Click for the full-size picture – but be aware – they are LARGE!
Remembering Autumn
As mild as this winter has been, it’s still been winter! Don’t get me wrong – I’ve greatly enjoyed our -4° instead of our -40° weather – but veggies & fruit won’t grow in -4° any more than -40°. (Well, except for haskap…. but that’s not the point.) The point is that I’m getting anxious for spring as I assume many of you are. I’ve order my seeds long ago and I’m ready to get planting. However, the time is not yet upon us for such things.
So in the meantime, I thought I’d look back at a few of the photos I took last autumn to remind myself of what I have to look forward to. The first is a photo of my prized pumpkin. I only got one this year – that’s why it’s so prized! This baby became pumpkin pie. And pumpkin pie. And pumpkin pie. And more pumpkin pie. (I can think of no greater purpose for a veggie!… or a melon… or whatever a pumpkin is classified as…)
Another highlight of my garden this year was the corn! Man, did we get corn! Not only did the kids love “exploring in the corn”….
We also enjoyed eating lots and lots of beautiful peaches and cream corn on the cob!
The kids also enjoyed the wildlife that came through this year. We had an ABUNDANCE of ladybugs…
And a we had our first visit by a salamander. This little fellow was living under our composting lettuce heads.
And of course, we took time to stop and smell the flowers.
Well, I’m afraid all that reminiscing didn’t pacify my longings for spring. In fact, perhaps, it even intensified them a little. But as I look outside, I see the sun shining and the snow melting – and I know that, while it’s not here quite yet – spring is indeed coming. And I shall be ready for it!
Greenhouses: More Than Just Functional
Some of the most popular articles that I’ve written on this website have been about my inexpensive greenhouses. From my Giant 24′x48′ A-Frame to my hail-proof PVC hoop-style greenhouse, I’ve explored all kinds of options for how to keep my garden safe from the harsh Alberta climate. And while most of my ideas are functional solutions – I can’t say they are always beautiful solutions. Rough cut lumber covered by a plastic sheet does keep the tomatoes from freezing, but it may not enhance the overall look of your yard. And in many cases, that’s ok. A hoop-frame greenhouse out behind the barn on the farm fits in nicely, but it might look out of place in your beautifully landscaped city yard.
So if you’re looking for a more attractive way to extend your growing season, you may want to consider a Victorian greenhouse. These beautiful glass structures are not only functional, but they also add character to your garden and value to your home. When I was making the landscaping plan for my backyard, this is type of greenhouse that I designed for.
Search through several Grow Lights and other necessities for your greenhouse all at an affordable price!
Ideally, I’d like a fully heated, cedar-frame glass greenhouse – about 12′ x 30′. (My current hoop-frame is 12′ x 20′.) It would be great to start my own annuals out there (instead of in my basement like I currently do). And it would be nice to have my greenhouse as a key feature of my garden, rather than something to be hidden in the back corner. Of course, I’ve been doing my landscaping in phases, (doing small projects as the budget allows) and so that type of greenhouse is still a few years away – but that’s the goal.
Until then I’ll be happy to keep on growing in my inexpensive hoop-style greenhouse and be just slightly envious of those of you who enjoy your beautiful glass greenhouses.
Are you one of the lucky people to have a Victorian greenhouse? I’d love to see your pictures! Feel free to attach them to your comments below!
The Corn Likes the Weather…
I don’t think I have ever experienced a summer in Alberta when, by the 20th of August, we still have not experienced a 30° day. It’s been cool and wet. And frankly, I’m ok with that. 23° is warm enough for me. But I wasn’t sure my garden would agree. I thought for sure with all this cool, wet weather, my plants would stop growing and start rotting. And indeed, when I picked my beans last week, there were lots of pods that were just rotting away on the plant. But in spite of that, I still picked a bumper crop of beans. And my peas have done better this year than they have since I moved here. And the corn! Well, let me just show you the corn…
And it’s only the 20th of August! So needless to say, I’m impressed. And excited. We’re going to be having some major corn roasts this fall!
So what’s been your experience with all this wet, cool weather (if you’re in Alberta)? Has it been a good year?


An Interview with Anna: Her Inexpensive Geodome Greenhouse
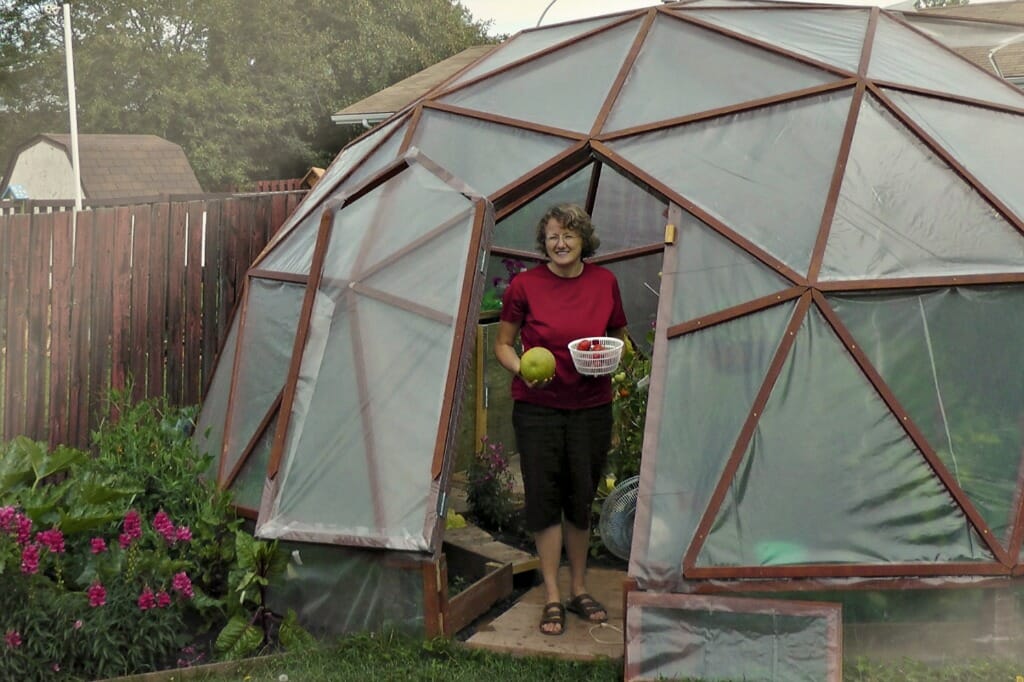
Some time ago I was introduced to Anna from northernhomegarden.com - a fellow gardening enthusiast from central Alberta. She writes a very interesting blog – and has a most interesting geodome greenhouse. If you’ve never seen a geodome greenhouse before – you’ve got to check this out!
Dave: First of all, tell me a little bit about yourself.
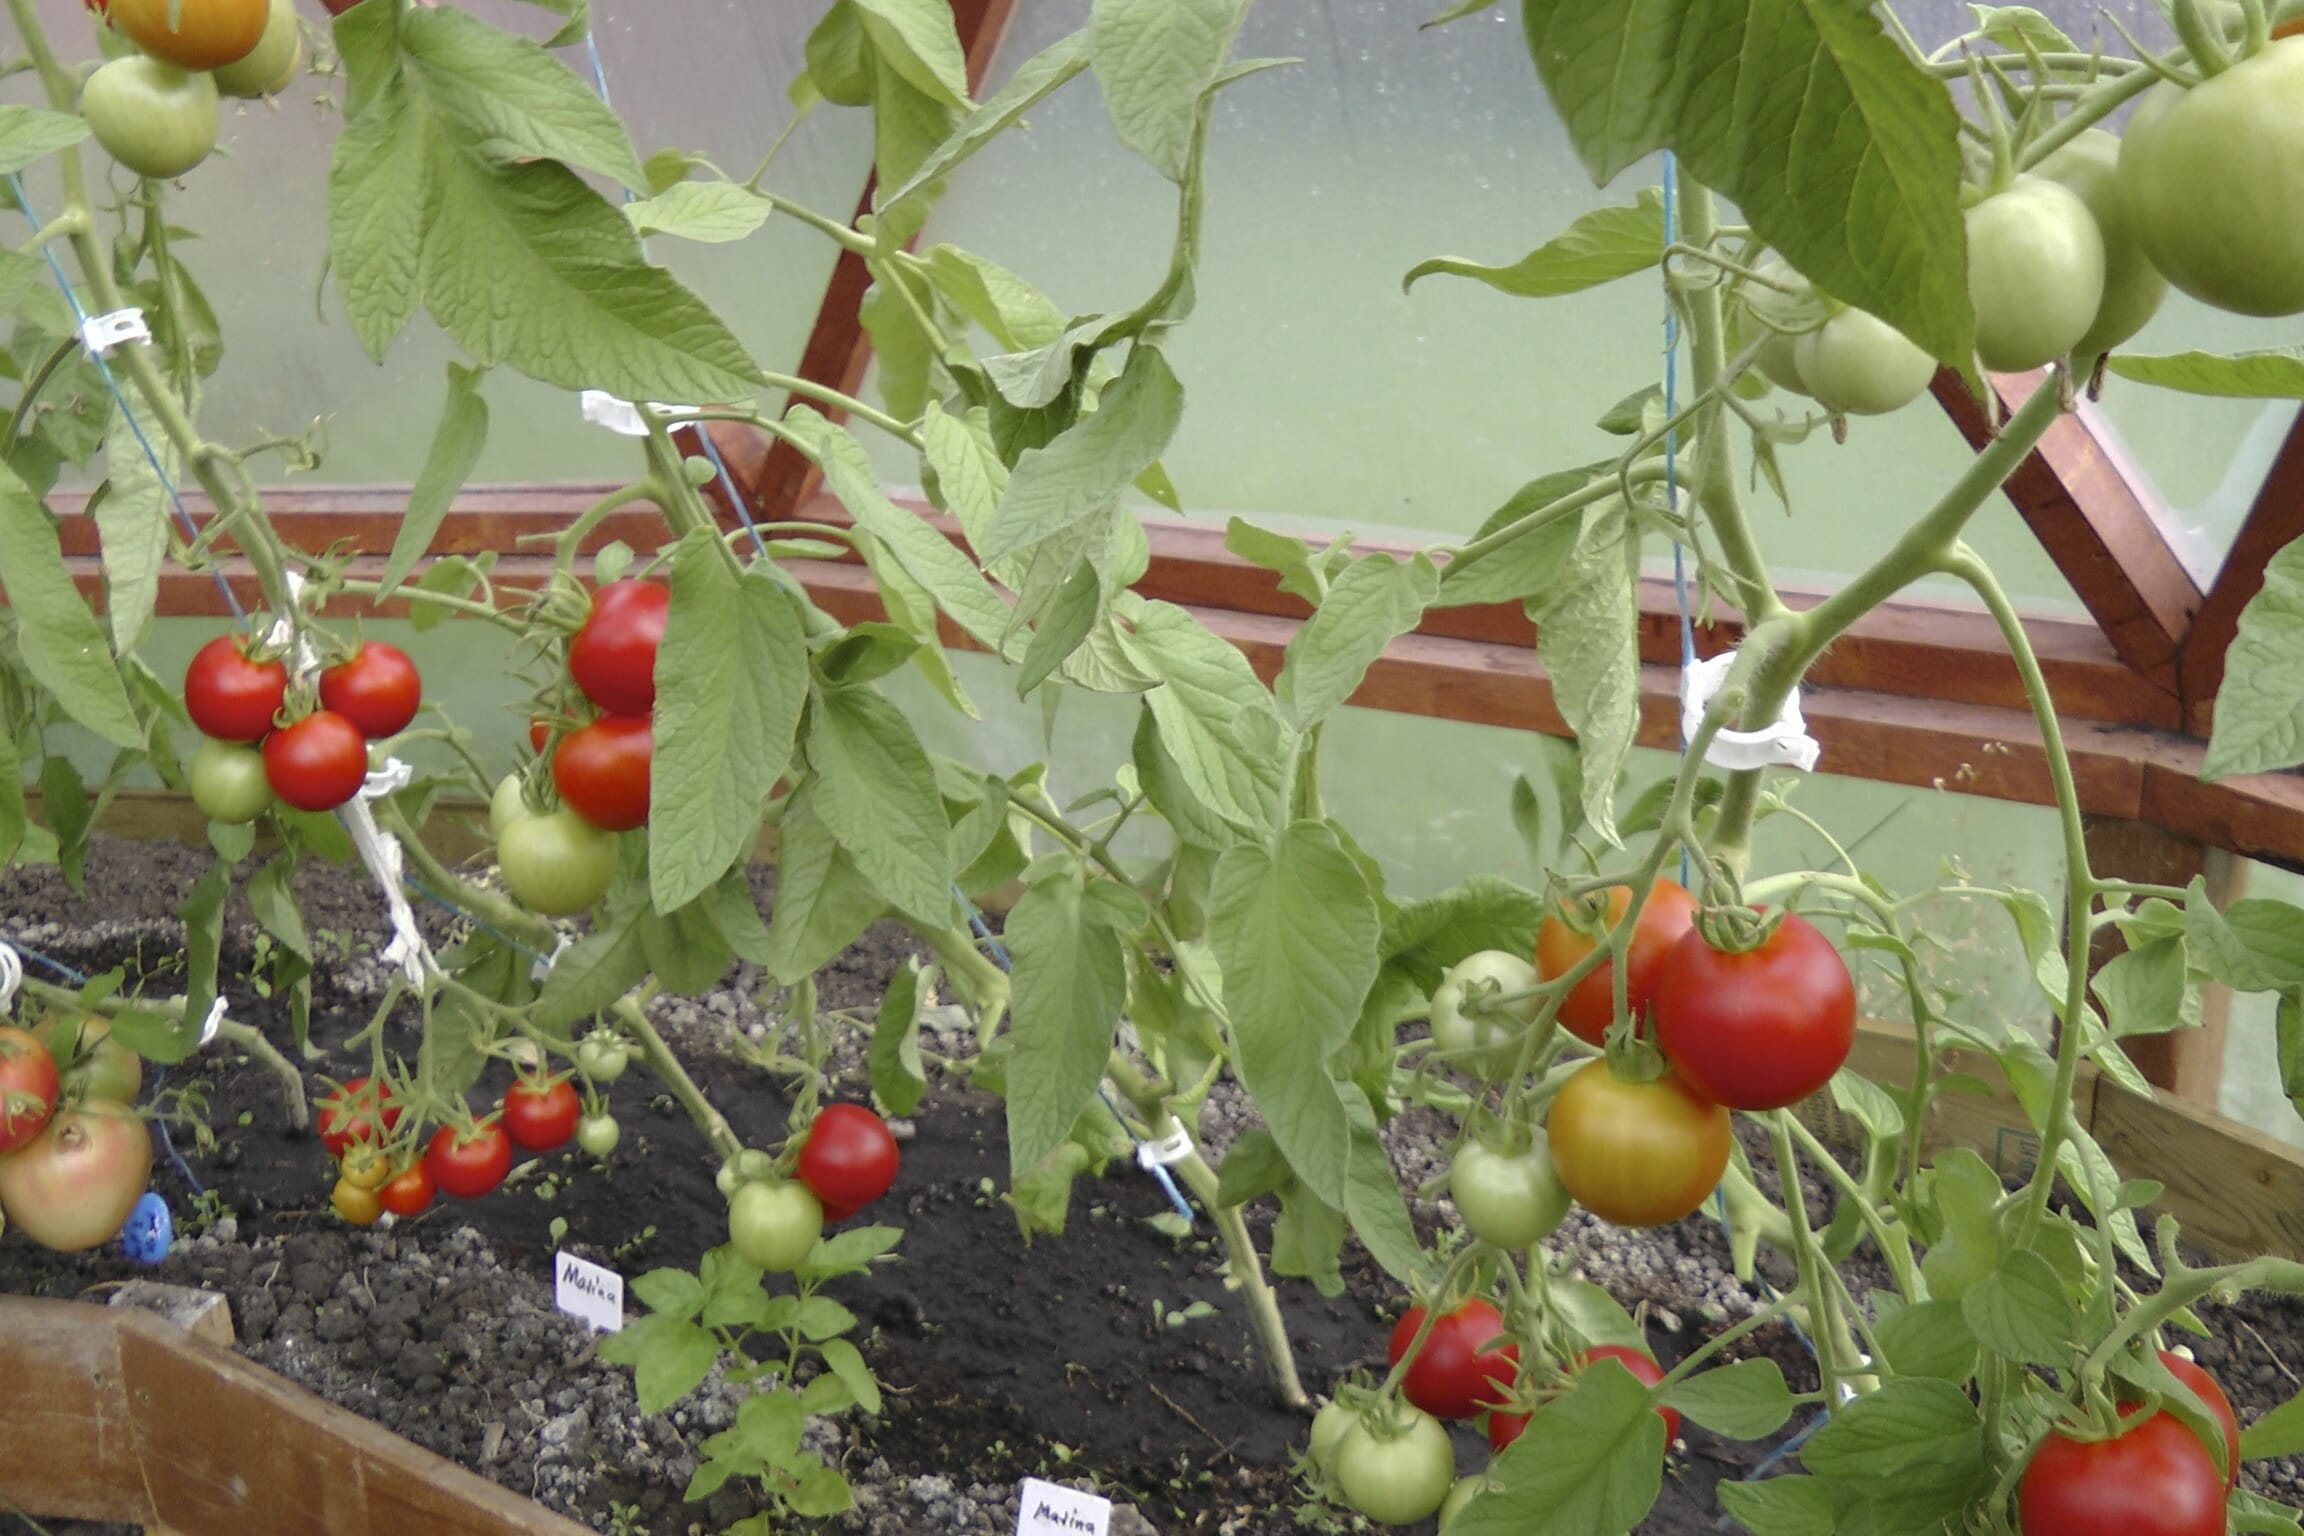
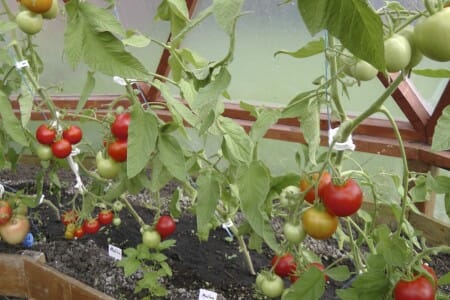
Anna: We are Jakob and Anna, passionate suburban home gardeners in Alberta, Canada. We grow lots and lots of food in our square foot garden, in the greenhouse, and at our friend’s farm. Truth is we do not even own a single square foot of land, but we do what we can and call it Northern Home Garden.
Dave: What’s the most unique feature of your garden?
Anna: It sure is our Geodome Greenhouse.
Dave: Why did you choose the geodome style for your greenhouse?
When we started to plan to build a greenhouse, our expectations were very high. In an northern garden we are dealing with frost, nasty winds and hail and also loads of snow in the winter. Our days in spring and fall are short of direct sunlight, so we need to catch every sunbeam we can. Plus, we live in town and the greenhouse in our small back yard needed to be somehow catchy.
In our research we came across the GeoDome greenhouse:
The GeoDome greenhouse is just what we were looking for.
Dave: How difficult/expensive was it to build?
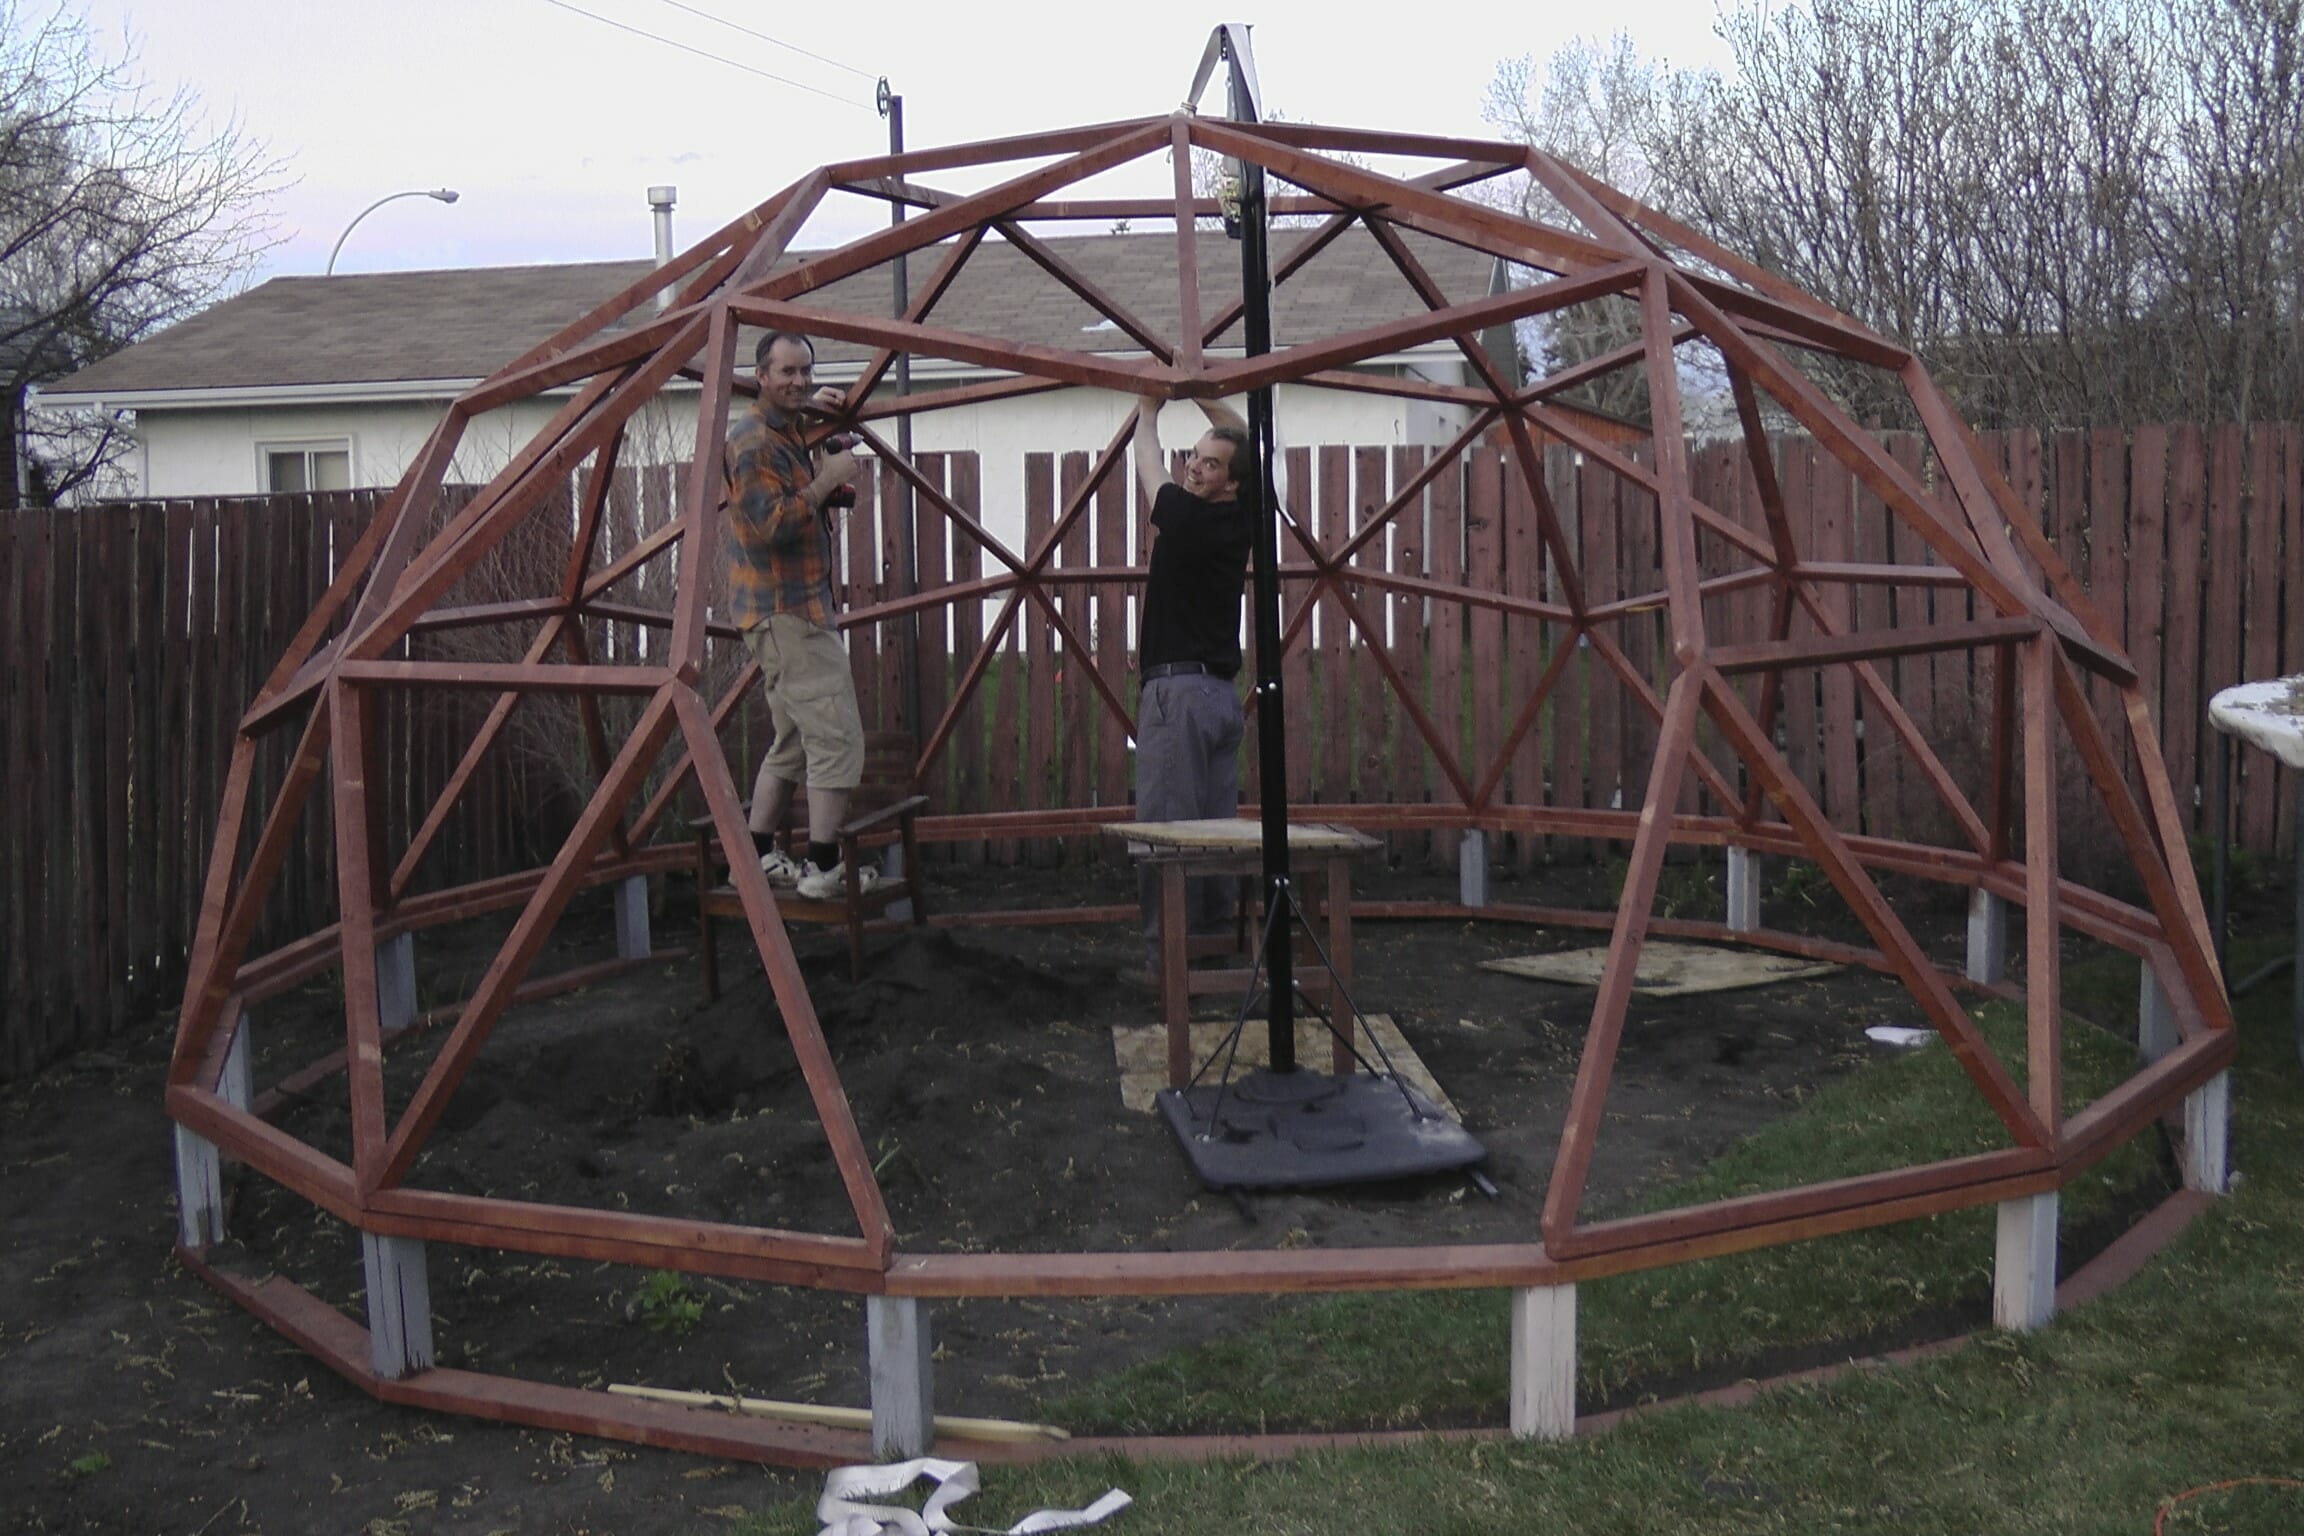
The most difficult part was to figure out how to build a Geodome, what kind of joints to use, what frequency is right for the size. We looked at dozens of How-To instructions and even bought an E-Book (with very little value). But all together it helped to build the GeoDome we have and love.
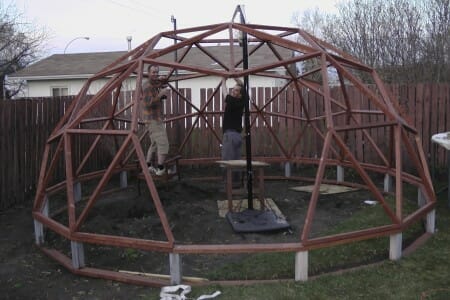
For the structure we used untreated spruce lumber, and stained it before assembling. For covering we used greenhouse plastic that was given to us from an commercial greenhouse. So the expenses were not very high, about $200, and it took us about a month to build it. All in all a very good experience, something we would recommend. We do share our experiences ‘How to build a GeoDome greenhouse’ here: http://www.northernhomegarden.com/2013/03/how-to-build-geodome-greenhouse.html
Dave: Do you have any future projects in mind?
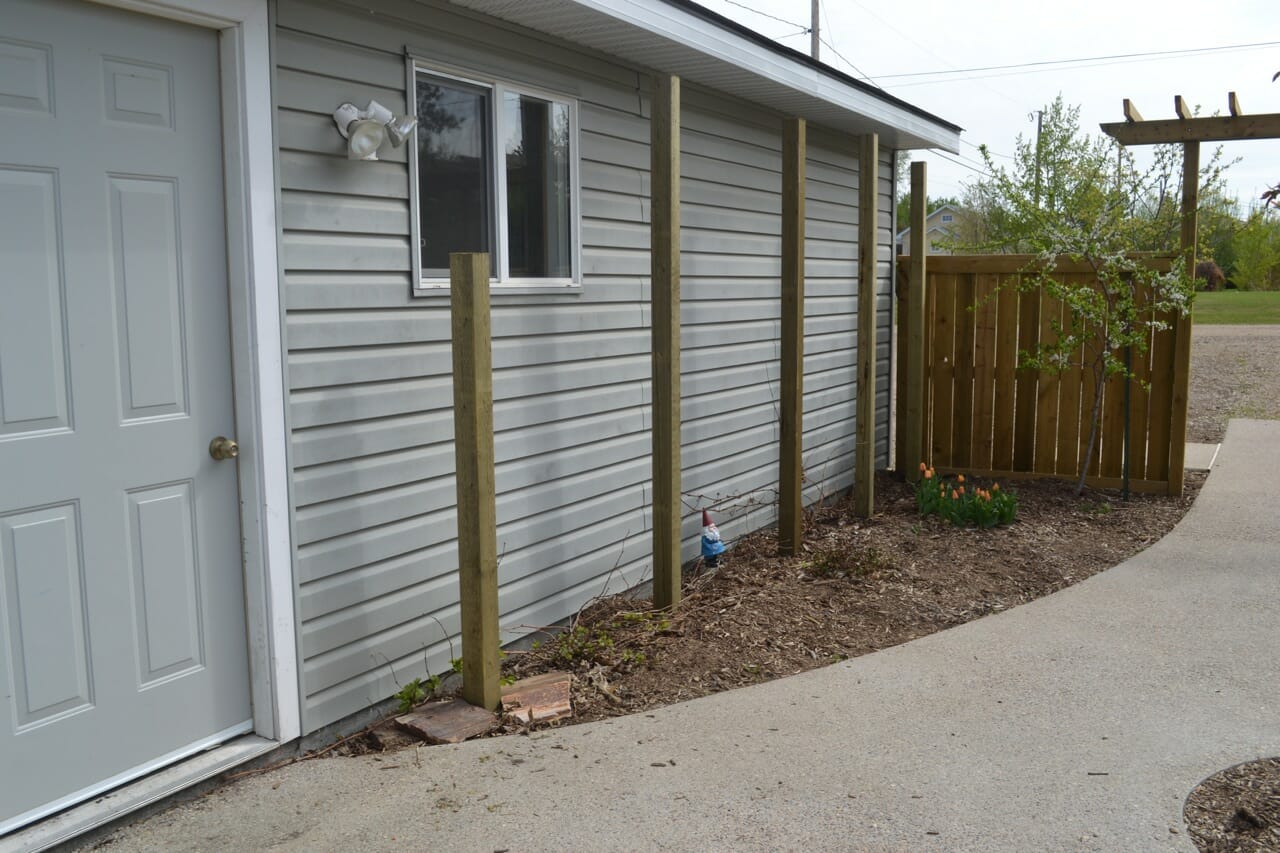
Anna: We would really love to own some land to build up a real homestead, with trees, and berries and some animals (dreaming aloud).
Got a unique or unusual greenhouse or garden? I’d love to hear about it. Go to my contact page and tell me all about it!