Categories
Haskap Just Photos

A Few More Haskap/Honeyberry Pictures

This morning I made an unexpected discovery. While checking my an email address that I haven’t used for months, I found that my brother-in-law had emailed me some photos that he had taken last June of the haskap/honeyberry plants  I had planted at his farm about five years ago. The photos were taken last year, so these plants are four years old. Have a look…


Do you have any pictures of haskap/honeyberries? Post them in your comments below!

Categories
Just Photos

Beans & Sunflowers

If you remember way back in the early part of this summer, I told you about interplanting my bean with my corn. Well, it was a terrible year for corn, so I’ve really got nothing exciting to tell you about that. However, what I didn’t mention before was that I also interplanted some scarlet runner beans with my sunflowers. And while neither grew to their full potential due to the poor growing season, I really enjoyed the way they looked together.

(Psssst. Don’t mind my weeds! Also, click these pictures for a clearer picture.)

I had to add some support for the bean vines, since the sunflowers fell way short of the size they should have grown to. Next year I plan to try this again – and perhaps even add some of these beans to my grapevine trellis by the garage.

Categories
Just Photos

Summer 2010 Recap

I must say, this has been probably the worst gardening year I’ve ever experienced. The weather has been very unfriendly to gardeners in Alberta. And yet, there is always a silver lining. All is not lost. Gardening in Alberta means making the best of your situation – whatever that may be. So here’s how I made the best of my garden this year.

One major project was to bring in a whole pile of mulch. (And I do mean that very literally.)

My father-in-law brought out a whole grain truck full of mulch that we applied liberally to our planting beds, in our greenhouse, and around our trees. It was a lot of shoveling, but I’m convinced that all that mulch will be worth it.

I also added a few plants to my landscape – plum trees, chum trees, cherry trees, kiwis, and grapes. Here’s some of the grapes.

Although many things in my garden didn’t do so well, the tomatoes prospered (even though they were a bit late.)

So that’s a quick update on my garden this summer. I’ve got a couple of other things brewing, but I’ll tell you about those later!

Categories
General

Field of Beans (and Corn)

Finally the snow has melted and the forecast no longer has overnight frosts. Time to get gardening! I’m currently in the early stages of landscaping our new yard, and there is an area on the east side of the house that I haven’t figured out just what to do with it yet. So, for this year I’ve decided to plant a mini corn field. I’ve always wanted to have a corn field, but until moving east to where we are now, I was always too close to foothills to have enough heat for corn.

In 2008 I experimented with inter-planting beans and corn. It worked so well that I tried it again in 2009. I had my best corn ever that year, so I’m going to do it again this year. So in my little 24′ x 24′ plot on the east side of my house, I have planted Supersweet Northern Extra corn in rows spaced two feet apart. I planted two seeds every two feet. Then in between corn seeds, I have planted a variety of beans – Purple Royalty, Roma II , Straight N’ Narrow, Scarlet Runner Pole Beans, and even Dark Red Kidney Beans!


(Click for a better view)


So there’s my field of beans and corn. Hopefully, both will grow nicely and produce lots. But if not, they should at least make for an interest way to fill the yard until I can properly landscape it!

Categories
Hints, Tips, and How Tos

A Texas-Style Hoop Frame PVC Pipe GreenHouse

It’s almost Spring! Yes, there may be a foot of snow on the ground still. Yes, it may still be -10ºC. Yes, the ground may still be frozen solid. But Spring is on the way. Well, it may be a little while yet – at least, here in Alberta. But down in Texas Spring is just around the corner.

In fact, Big Jim just sent me a few pictures of the hoop-style greenhouse that He just built. Since many of you may be thinking about building your own greenhouse this spring, I thought I’d share Big Jim’s pictures and tell you about some of the modifications he made to my Inexpensive Hoop-Frame PVC Pipe Greenhouse. So first the pictures…

The first thing you might notice is that Big Jim has added some braces to his end walls. This is a great idea, since the ends tend to be pulled in by the weight of snow in the winter.

He also added some height to his walls. He’s a tall guy, so he’s used PVC pipes that were 22′ long instead of just 20′. Because of the extra length, He also used 1″ pipe instead of 1/2″ pipe to give it some more strength. Another change He made was to use electrical conduit clamps to attach the pipes to the base, as opposed to the strapping.

So this is what it looks like all said and done. He plans to grow tomatoes, peppers, cucumbers, some flowers and hanging basket plants, and he even wants to try some hydroponics. Perhaps I’ll get a few more pics down the road and give you an update to how things are growing.

Anyway, hopefully that’ll inspire you  in your own greenhouse building endeavors. I think I may even integrate a few of his changes in my own greenhouse. But all in good time – I think I’ll let the ground thaw first.

Categories
Projects

My Hoop-Frame Greenhouse In the Snow

Well, not that long ago I showed you that a hoop-frame greenhouse could survive a Canadian winter. I should probably add “so far” to the end of that statement. We had a whole pile of snow (by central Alberta standards) over the past two days and I was away and thus unable to brush off the snow that was piling up on my greenhouse. So I was a little worried when I looked out this morning and saw my greenhouse looking like this.

Buried Greenhouse

The snow had accumulated on the top enough to start bending the pvc pipes and the roof began sinking. This is what it looked like inside.

Saggy Greenhouse

On one hand, I was sad to see it getting squashed by the snow like that. But on the other hand, I was over joyed to see that although it had bent, nothing had broken! Everything was intact – just a little bent out of shape. So here’s another positive for using PVC pipe. It can bend quite a bit, still not break, and then resume it’s shape again when the pressure is off.

So I took out my shovel and scraped the snow back from the sides and brushed the snow off of the roof best I could. Some chunks were frozen to the plastic at the top, and I didn’t want to risk wrecking the plastic, so I left some up there. But the warm weather that will come eventually, hopefully, should melt that away.

While there certainly are some risks to this type of greenhouse structure (after all, I do live in Canada), and we’re not out of the woods yet (still six more months of winter… well, three at least), I still stand behind my PVC pipe greenhouse.

Categories
Projects

Can A PVC Pipe Greenhouse Survive A Canadian Winter?

It’s December 12 in Central Alberta. Last week brought a lovely little blizzard with high winds and a whole pile of snow and this weekend we are looking forward to -35°C. Yup, must be winter. So, I figured it would be a great time to check on my little greenhouse. You know the one – the hoopframe greenhouse I made out of PVC pipes and covered with woven poly. Some people weren’t sure it would stand up the the wind and the snow and the cold temperatures, but I was confident. Mostly. So I ventured out in the -29.9°C weather this morning to see how well things were standing up. Here’s what it looked like:

Greenhouse in December Not bad so far. How about the inside? One of the biggest concerns is that the pvc pipes would snap or would bend under the weight of the snow. One nice thing is that Alberta snow tends to be pretty dry, so it’s not usually as heavy as the snow in other parts of the country. Regardless, it can still be pretty heavy when piled up. Well, here’s the inside.

Greenhouse in December Things are holding up well. Nothing has snapped, there is no major bending going on – all is bright and well. And, for an added bonus (for what it’s worth), it was -18.7°C inside while -29.9°C outside. Still really cold – but certainly a wide spread (and this only at 10am – by 2pm it should be significantly warmer from the sun).

So I must say I am pleased. I think this greenhouse is my best to date and I am excited to get some plants started out there earlier than I ever have before! I’ll keep you updated!

Update at 1:00pm later that day:

Ok, now it’s just -27°C outside, but a scorching -10°C inside! That’s 17 degrees people! Does that not impress you? I does me. I’ll have tomatoes in February!… Well, that might be a little wishful thinking…

Categories
Seed & Plant Reviews

The Winner of the 2009 Tomato Awards Is… Sweet Cluster!

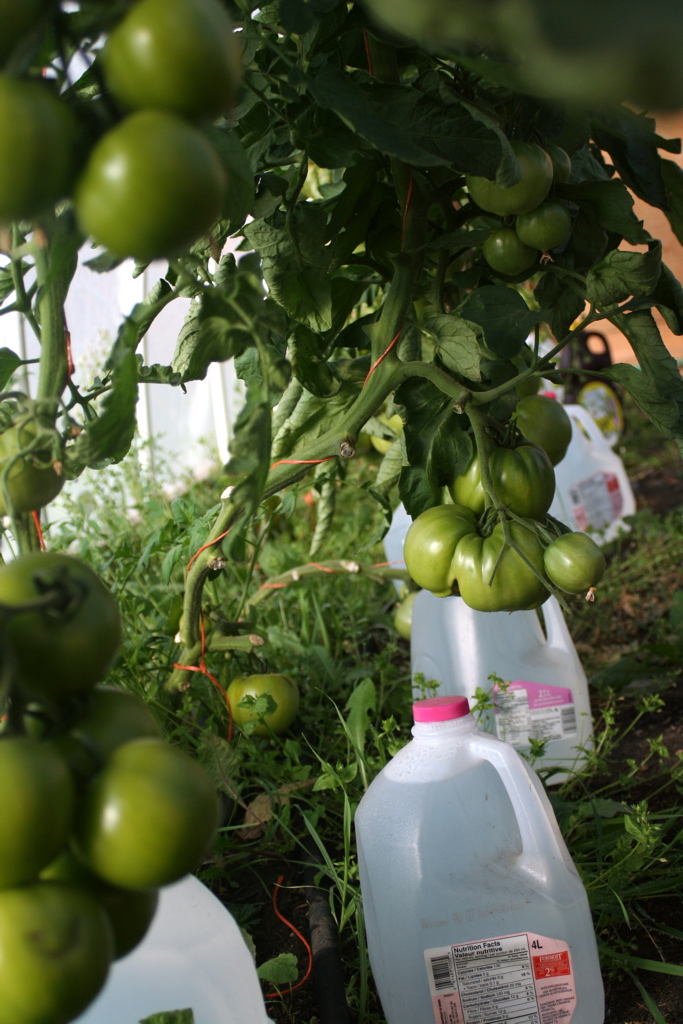
I don’t know if you’ve picked up on this yet, but I like tomatoes. I’m pretty sure that, to date, they are my favorite thing to grow. This year I planted six varieties and I thought I’d share my thoughts on which ones I thought were best. (Not all tomatoes are created equal, you know.) So without further ado, may I present to you – The 2009 Tomato Awards!… Also known as Dave’s Favs for 2009… Or Tomatoes I like… Or whatever.

Starting at the top, my number one pick for tomatoes this year is…
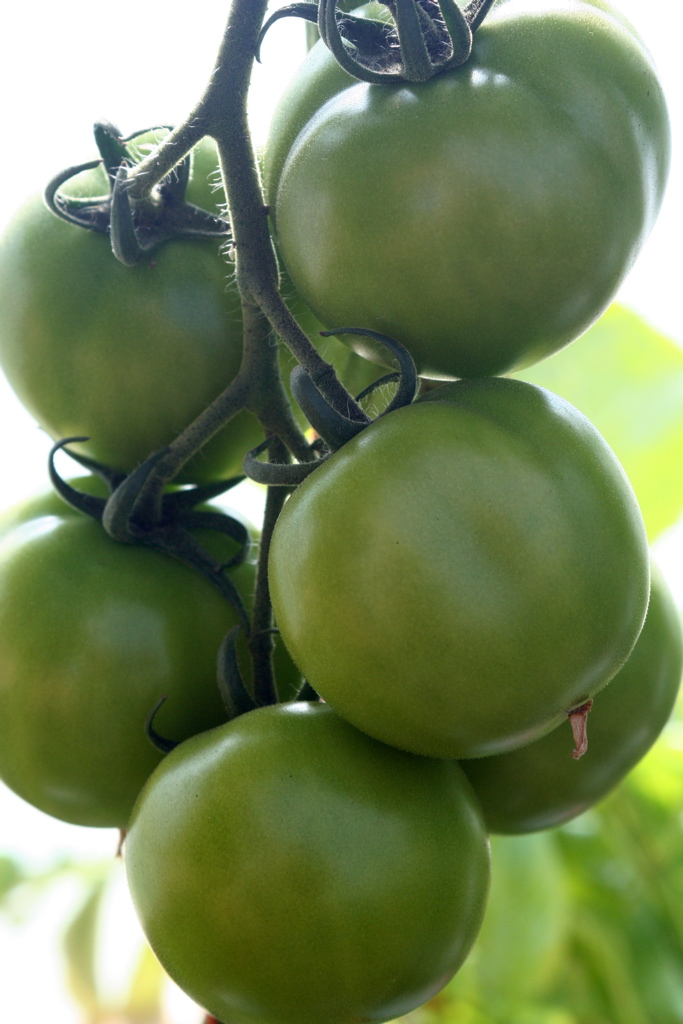
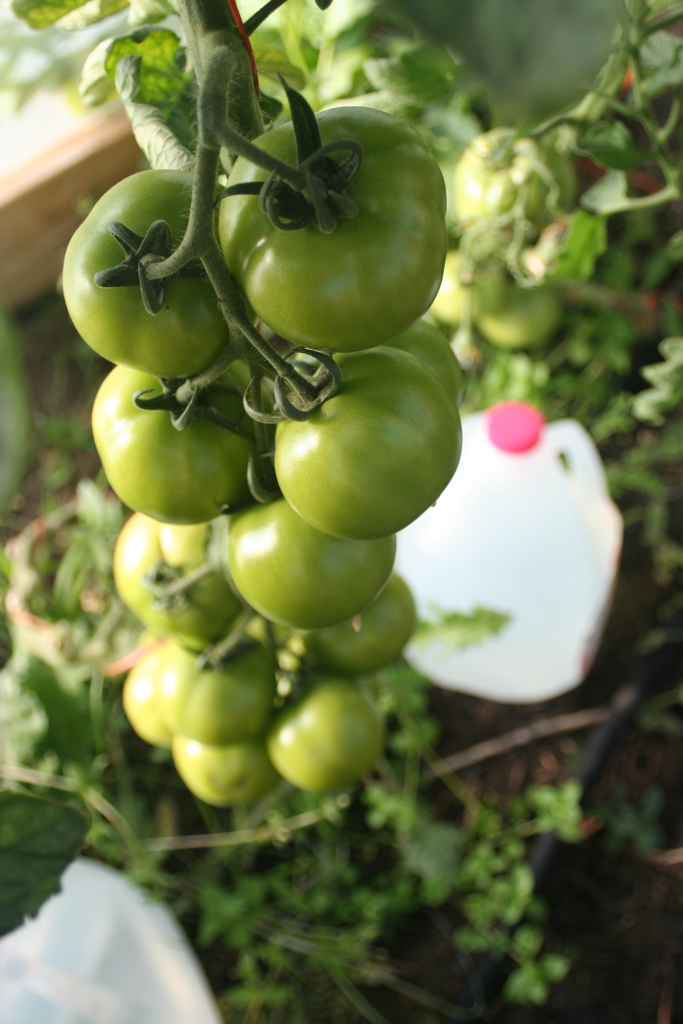
Sweet Cluster Tomato

#1. Sweet Cluster

I like to eat my tomatoes like apples and this is the perfect variety for doing just that. They are the perfect size – about the size of a lightbulb, but a very nice round shape. They also produce like mad! They produce in clusters (thus the name) of about six or more tomatoes. These are hands down my favorite tomato of 2009.

#2. Sweet 100

Now this ranking may be a little skewed. I love cherry tomatoes and this was the only variety that I planted this year – so it automatically makes it into the top by default. The flavor was good, but I think I have had better cherry tomatoes (just not this year). I do have to say I was impress with their production though – lots of long trailing clusters.

#3. Lemon Boy

I do have a thing for the slightly unusual when it comes to gardening, so yellow tomatoes certainly have an attraction for me. But I do really like the flavor and texture of the lemon boy tomatoes. This is one that I’ll be planting on a regular basis in years to come.

The Others

The rest of these were fine and good. All of them were quite edible, but they weren’t anything really special. They were “just tomatoes”. So in no particular order…

Brandywine – There were kinda fun because they grow very large. I sliced one up for lunch and I hardly had room on my plate for anything else. This is what you want to grow if you want to out-grow your neighbor.

Beefmaster – Mine were pretty ugly looking. Quite bulgy, like someone was trying to fit two tomatoes into one skin. Still tastes good though. Can’t tell its shape when you turn it into salsa…

Better Boy – This is your all-round average, all-purpose tomato. It’s nice. It’s good. Not much else to say about it.

So that’s my tomatoes of 2009. I’m ready to start planning for 2010, so if you’ve got some favorites that you’re willing to share – leave a comment!

Categories
Just Photos

Sunflowers & Honey Bees

Hi folks! I just wanted to share this picture with you. I snapped it this morning. The bees & wasps have been terrible this year. (“Terrible” as in bothersome when you’re eating lunch outside, but also “terrible” as in lots and lots of bees that are cool to look at as they go about their business.) Anyway, I think it’s a cool picture. What’s your thoughts?

Honey bee on a Sunflower

Categories
Hints, Tips, and How Tos

Can Milk Jugs Help Grow Tomatoes?

Well, I’m trying something new in my greenhouse this year – milk jugs. Yup, milk jugs. Here’s the theory… All along my row of tomato plants are old milk jugs full of water. All day long the sun warms up the water in those jugs. According to science, water holds heat better than air. So when it gets cool at night, the air in my greenhouse will cool off much quicker than the water in the milk jugs. Thus, the heat in the milk jugs will slowly release through the night – heating the air around them. That means my tomatoes stay warmer longer. It’s kinda like a heat battery for greenhouses. The more milk jugs of water, the more heat is saved up all day and released all night.

So does it work? Well, I can’t really say yet. When I did my first thermometer test, the temperature on the ground six inches from the a milk jug was 0.6 degrees warmer than the temperature at knee height three feet away. So if warm air rises, the knee height should have been warmer. Tonight I’m going to take a another temperature test – one near and one away from the jugs – this time both at knee height. I’ll try to keep you posted.

I still need to seal up my greenhouse a little better so the warm air has a harder time sneaking out at night, so it’s hard to say if the milk jugs are really doing much good. But I’m pretty sure they aren’t hurting anything – at least my tomatoes aren’t complaining…. Take  a look!

Tomato Clusters

Nice, huh? Here’s another shot…

Heat Batteries

Has anyone else tried something like this? How has it worked?

Update September 28: Last night the temperature dropped to -4.7° C. Inside the greenhouse on the far side away from the jugs the temperature dropped to 0.2° C. But near the milk jugs the temperature got no lower than 2.3° C. So, I’m impressed.